这周又要过一半了……
0x00.前言
腾讯云开发者实验室(beta),这个其实很早就看见了,还加了QQ群,不过当时以为只是第一次免费,所以一直没做,昨天发现可以无限次做……

0x01.引用
1.0 简介
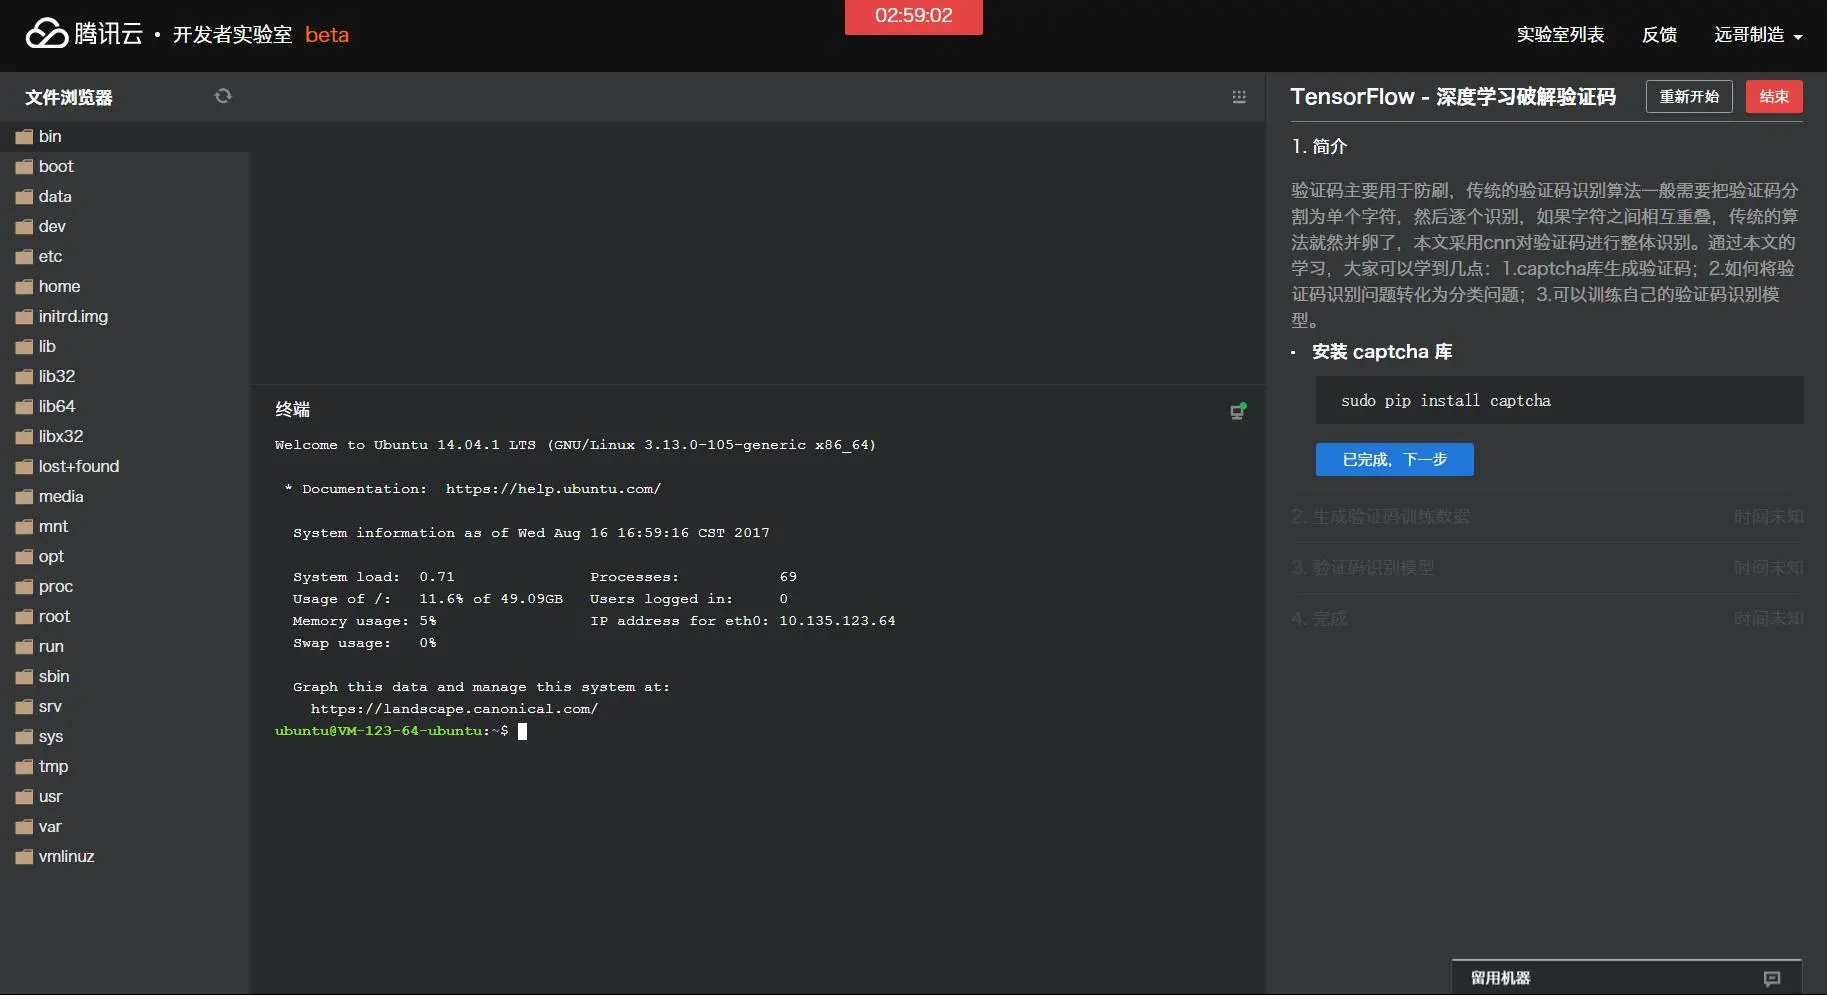
验证码主要用于防刷,传统的验证码识别算法一般需要把验证码分割为单个字符,然后逐个识别,如果字符之间相互重叠,传统的算法就然并卵了,本文采用cnn对验证码进行整体识别。通过本文的学习,大家可以学到几点:1.captcha库生成验证码;2.如何将验证码识别问题转化为分类问题;3.可以训练自己的验证码识别模型。
1.1 安装captcha库
sudo pip install captcha
1 | Welcome to Ubuntu 14.04.1 LTS (GNU/Linux 3.13.0-105-generic x86_64) |
2.0 生成验证码训练数据
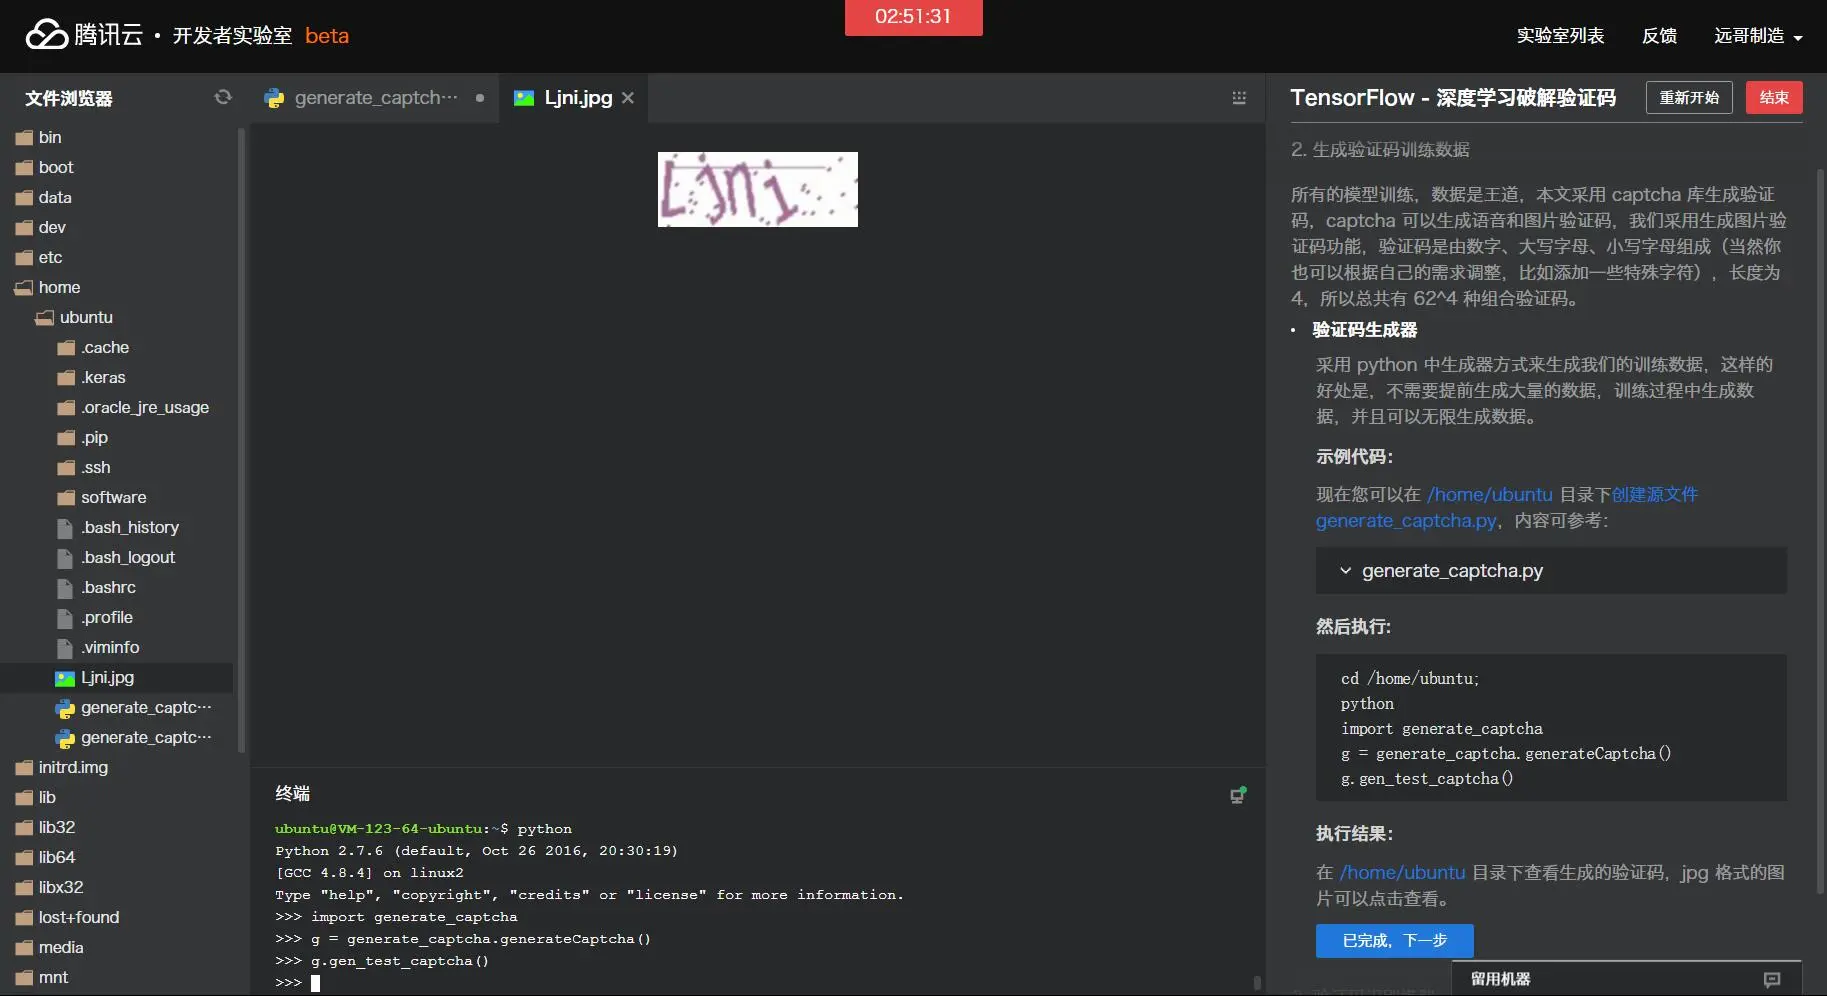
所有的模型训练,数据是王道,本文采用captcha库生成验证码,captcha可以生成语音和图片验证码,我们采用生成图片验证码功能,验证码是由数字、大写字母、小写字母组成(当然你也可以根据自己的需求调整,比如添加一些特殊字符),长度为4,所以总共有62^4种组合验证码。
2.1 验证码生成器
采用python中生成器方式来生成我们的训练数据,这样的好处是,不需要提前生成大量的数据,训练过程中生成数据,并且可以无限生成数据。
现在您可以在/home/ubuntu目录下创建源文件generate_captcha.py,内容可参考:
1 | #!/usr/bin/python |
然后执行:cd /home/ubuntupythonimport generate_captchag = generate_captcha.generateCaptcha()g.gen_test_captcha()
执行结果:
在/home/ubuntu目录下查看生成的验证码,jpg格式的图片可以点击查看。
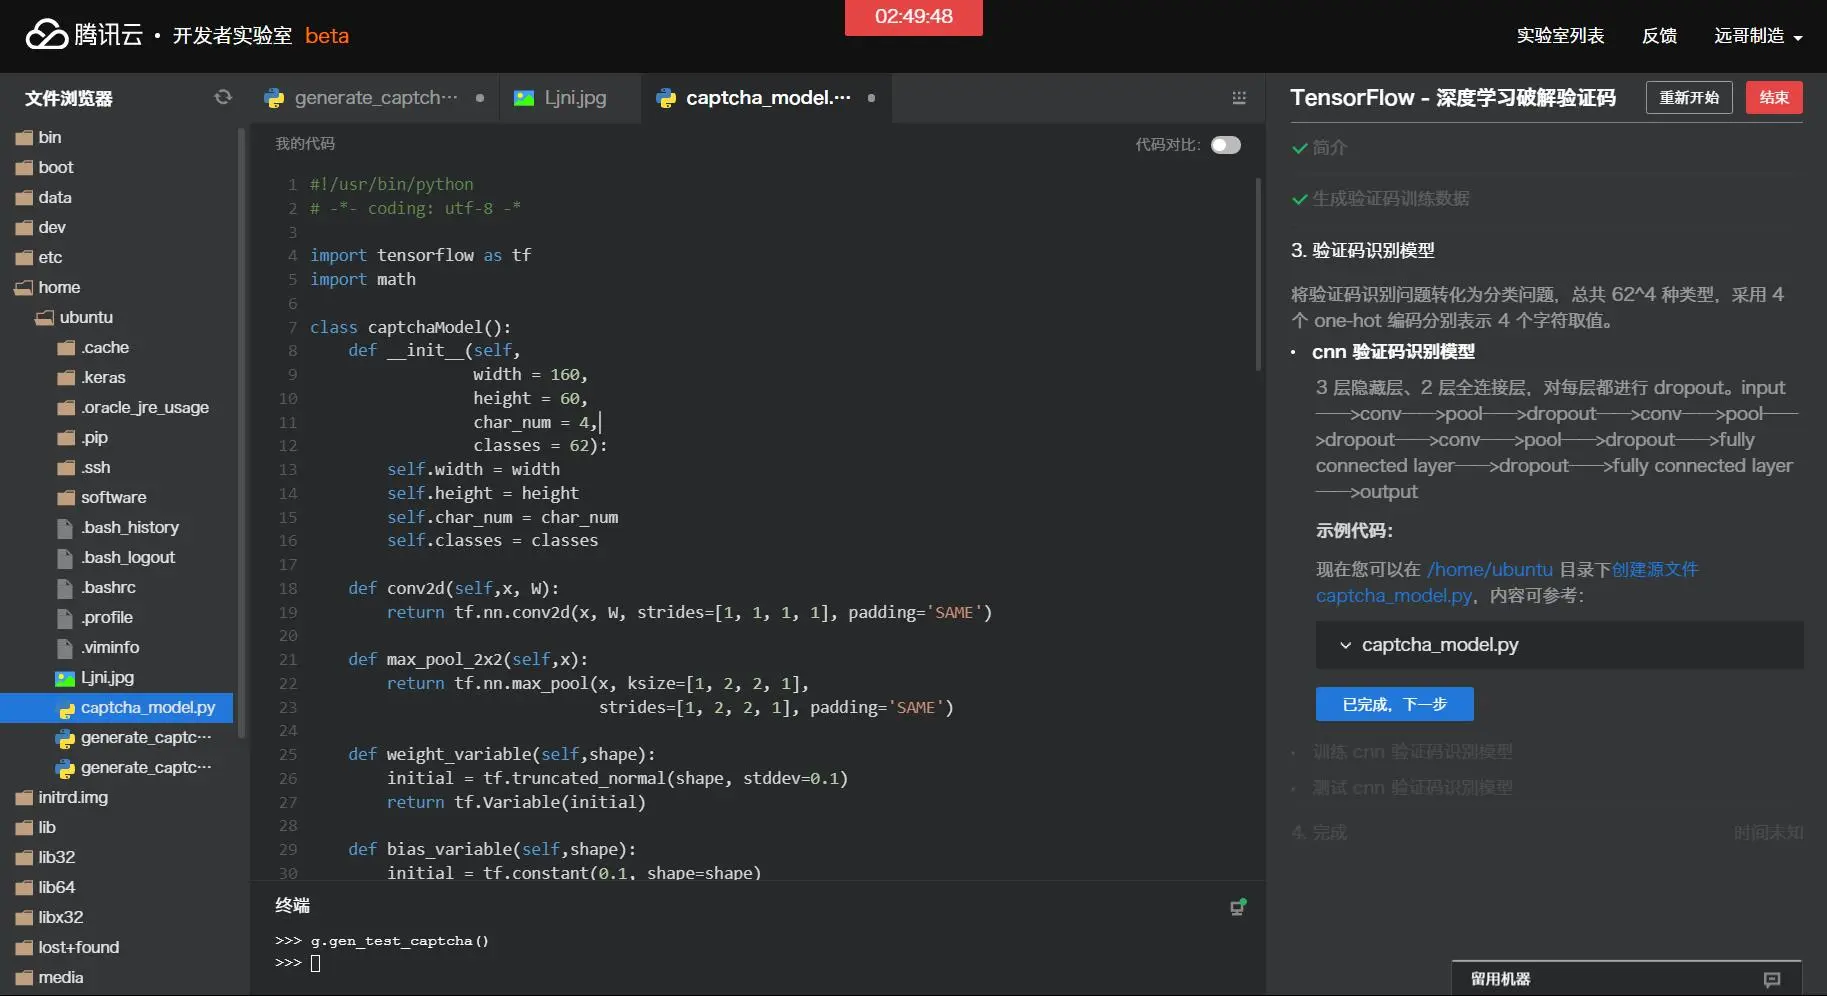
3.0 验证码识别模型
将验证码识别问题转化为分类问题,总共62^4种类型,采用4个one-hot编码分别表示4个字符取值。cnn验证码识别模型3层隐藏层、2层全连接层,对每层都进行dropout。input——>conv——>pool——>dropout——>conv——>pool——>dropout——>conv——>pool——>dropout——>fully connected layer——>dropout——>fully connected layer——>output
现在您可以在/home/ubuntu目录下创建源文件captcha_model.py,内容可参考:
1 | #!/usr/bin/python |
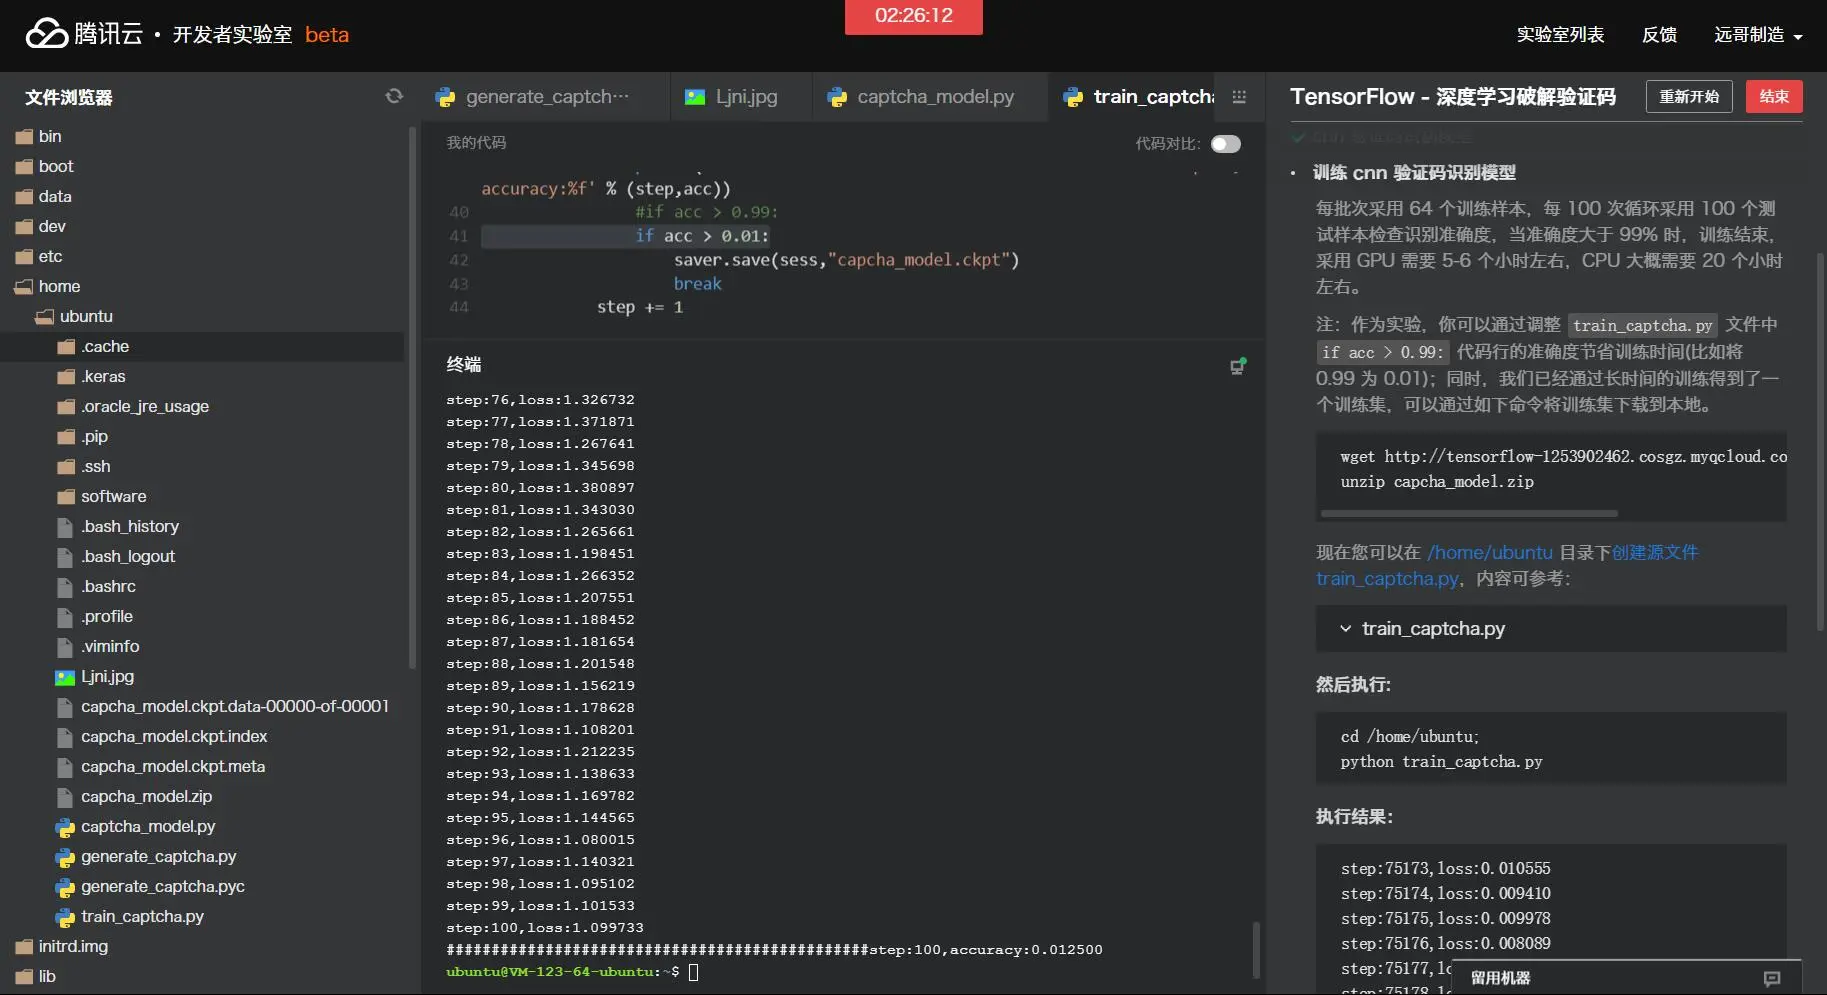
3.1 训练cnn验证码识别模型
每批次采用64个训练样本,每100次循环采用100个测试样本检查识别准确度,当准确度大于99%时,训练结束,采用GPU需要5-6个小时左右,CPU大概需要20个小时左右。
注:作为实验,你可以通过调整train_captcha.py文件中if acc > 0.99:代码行的准确度节省训练时间(比如将0.99为0.01);同时,我们已经通过长时间的训练得到了一个训练集,可以通过如下命令将训练集下载到本地。wget http://tensorflow-1253902462.cosgz.myqcloud.com/captcha/capcha_model.zipunzip capcha_model.zip
现在您可以在/home/ubuntu目录下创建源文件train_captcha.py,内容可参考:
1 | #!/usr/bin/python |
1 | ubuntu@VM-123-64-ubuntu:~$ cd /home/ubuntu; |
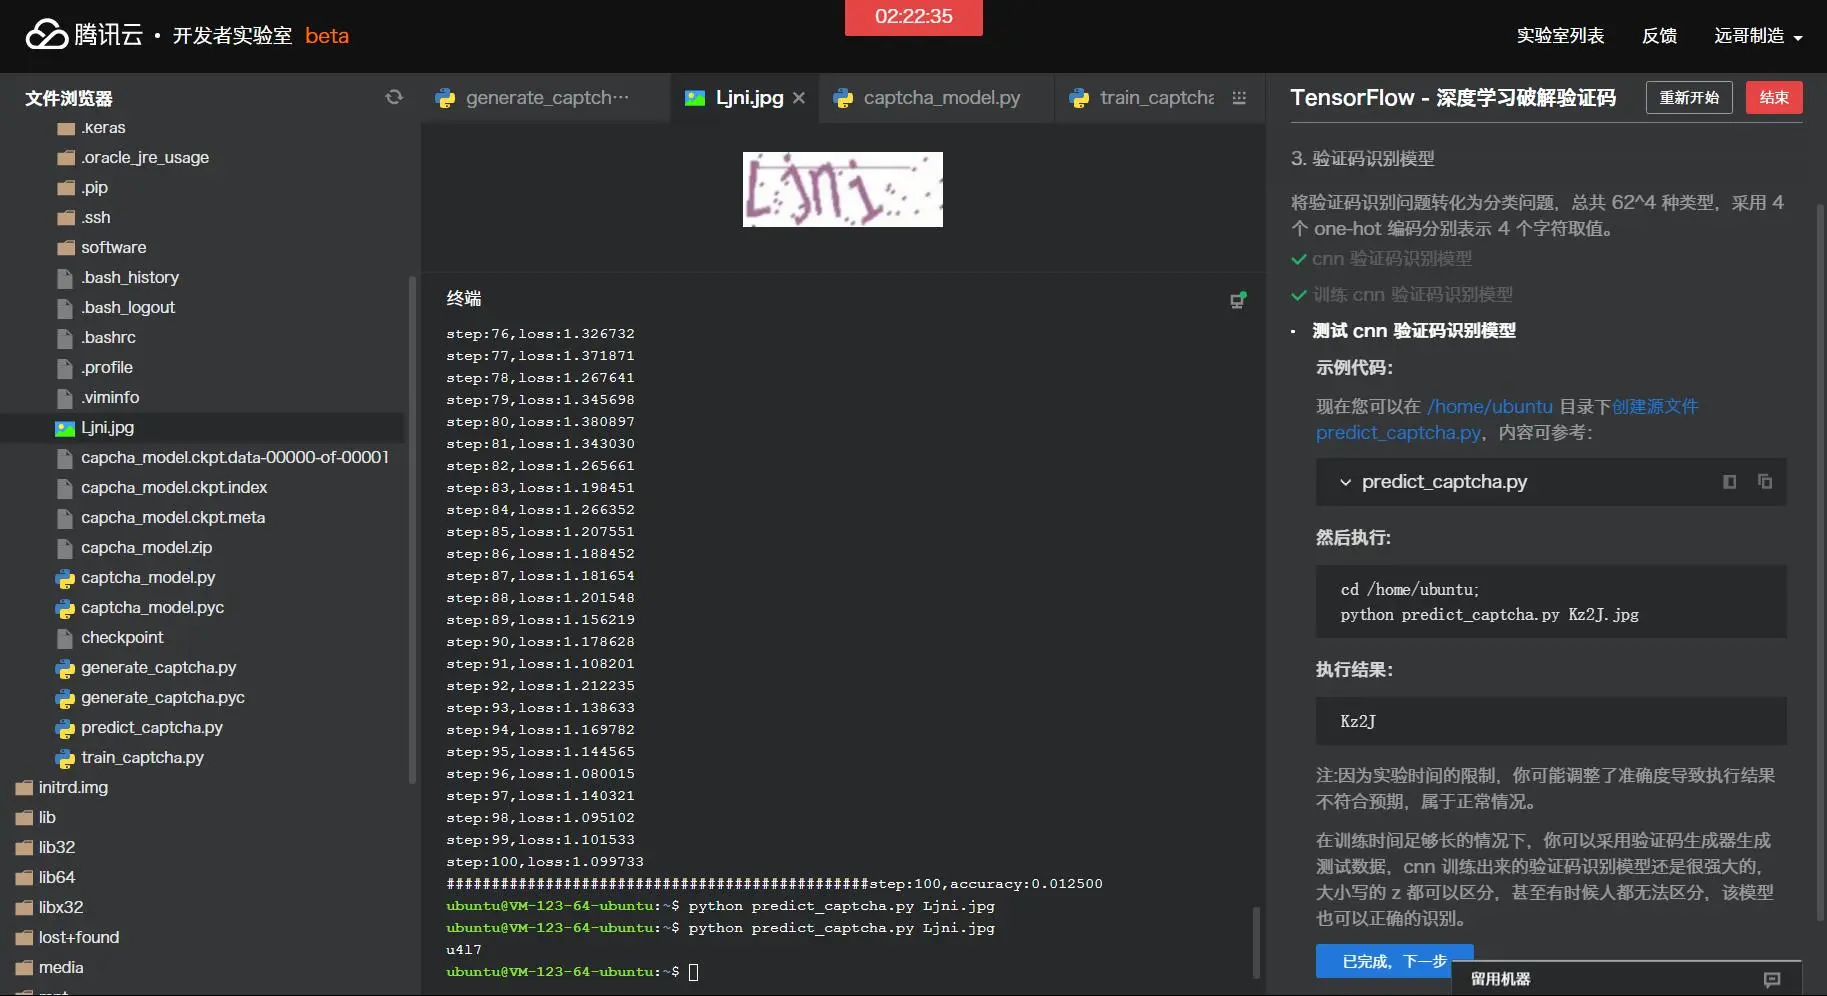
3.2 测试cnn验证码识别模型
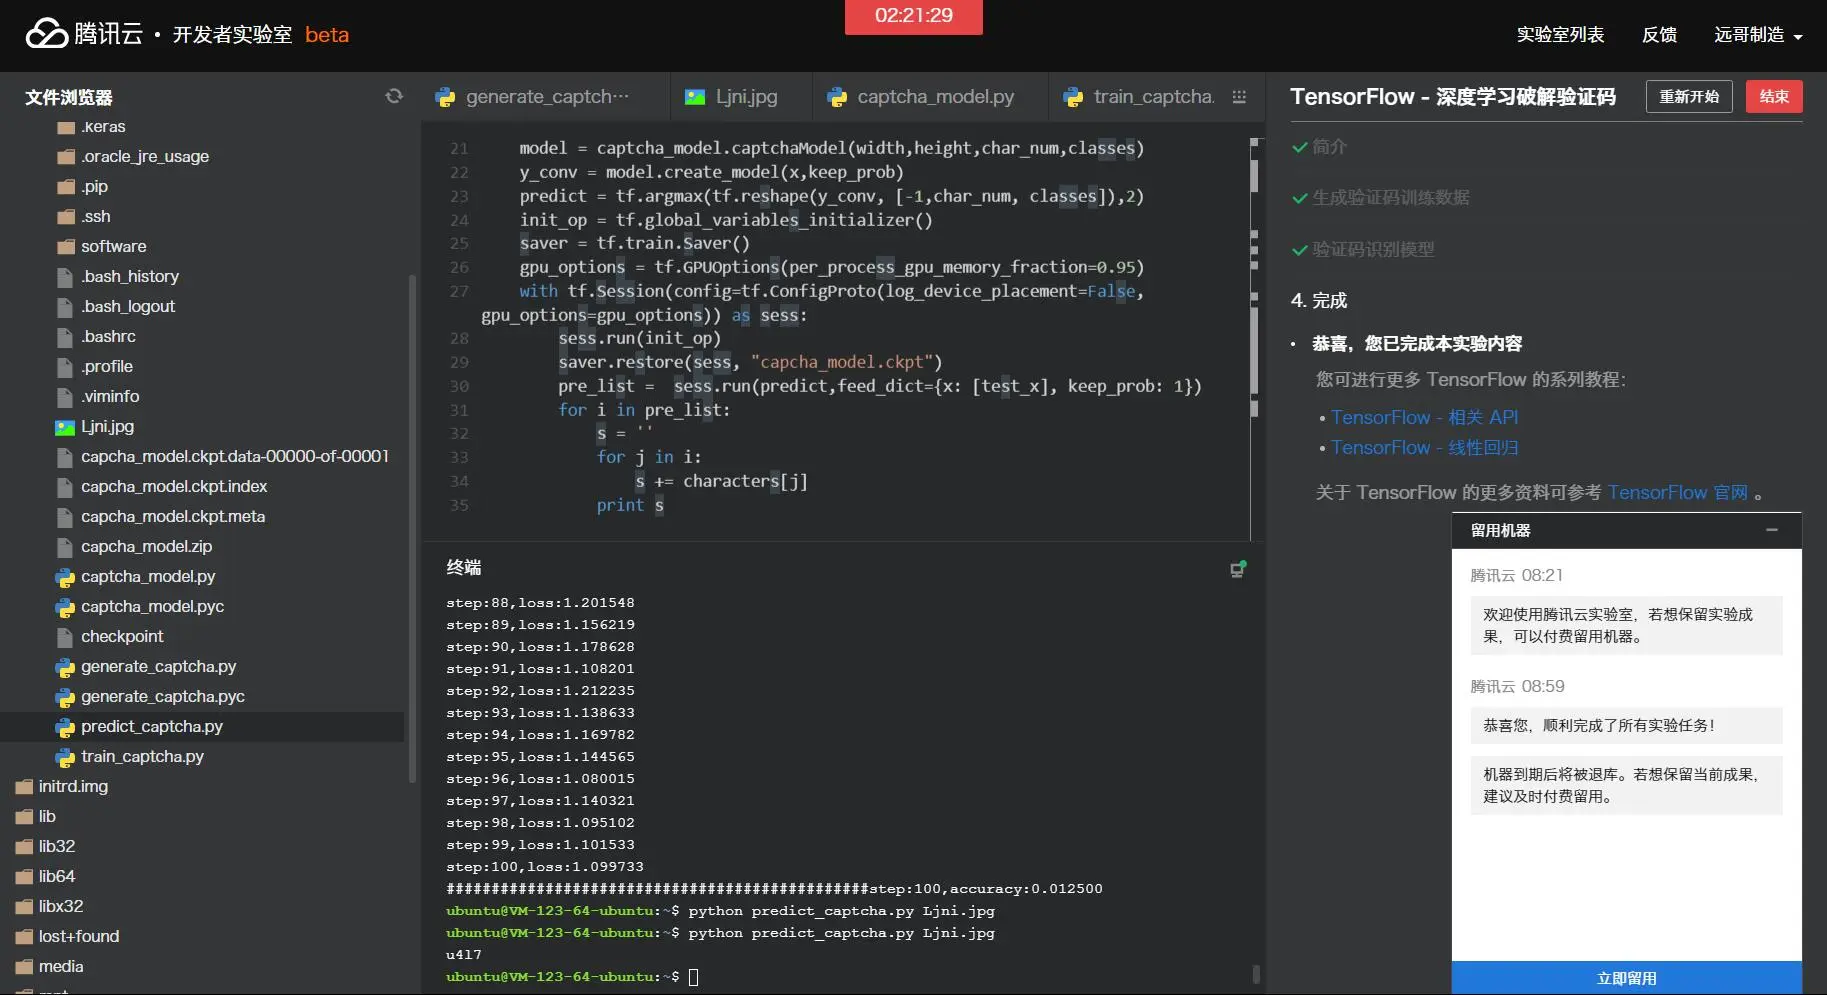
1 | #!/usr/bin/python |
现在您可以在/home/ubuntu目录下创建源文件predict_captcha.py,内容可参考:predict_captcha.py
然后执行:cd /home/ubuntupython predict_captcha.py Kz2J.jpg!webp
执行结果:Kz2J
注:因为实验时间的限制,你可能调整了准确度导致执行结果不符合预期,属于正常情况。
在训练时间足够长的情况下,你可以采用验证码生成器生成测试数据,cnn训练出来的验证码识别模型还是很强大的,大小写的z都可以区分,甚至有时候人都无法区分,该模型也可以正确的识别。python predict_captcha.py Ljni.jpg!webp
1 | u4l7 |
这就很尴尬了
0x02.后记
还剩点时间,那就继续跑吧……
1 | step:2300,loss:0.091317 |
还是很尴尬,一张也没有成功……
跟其他类似的实验室不同,代码可以直接复制,所以我全是复制的,然而到最后只是大体上走了个流程,代码注释较少
未完待续……
