祭出 ESP8266 神器
0x00.前言
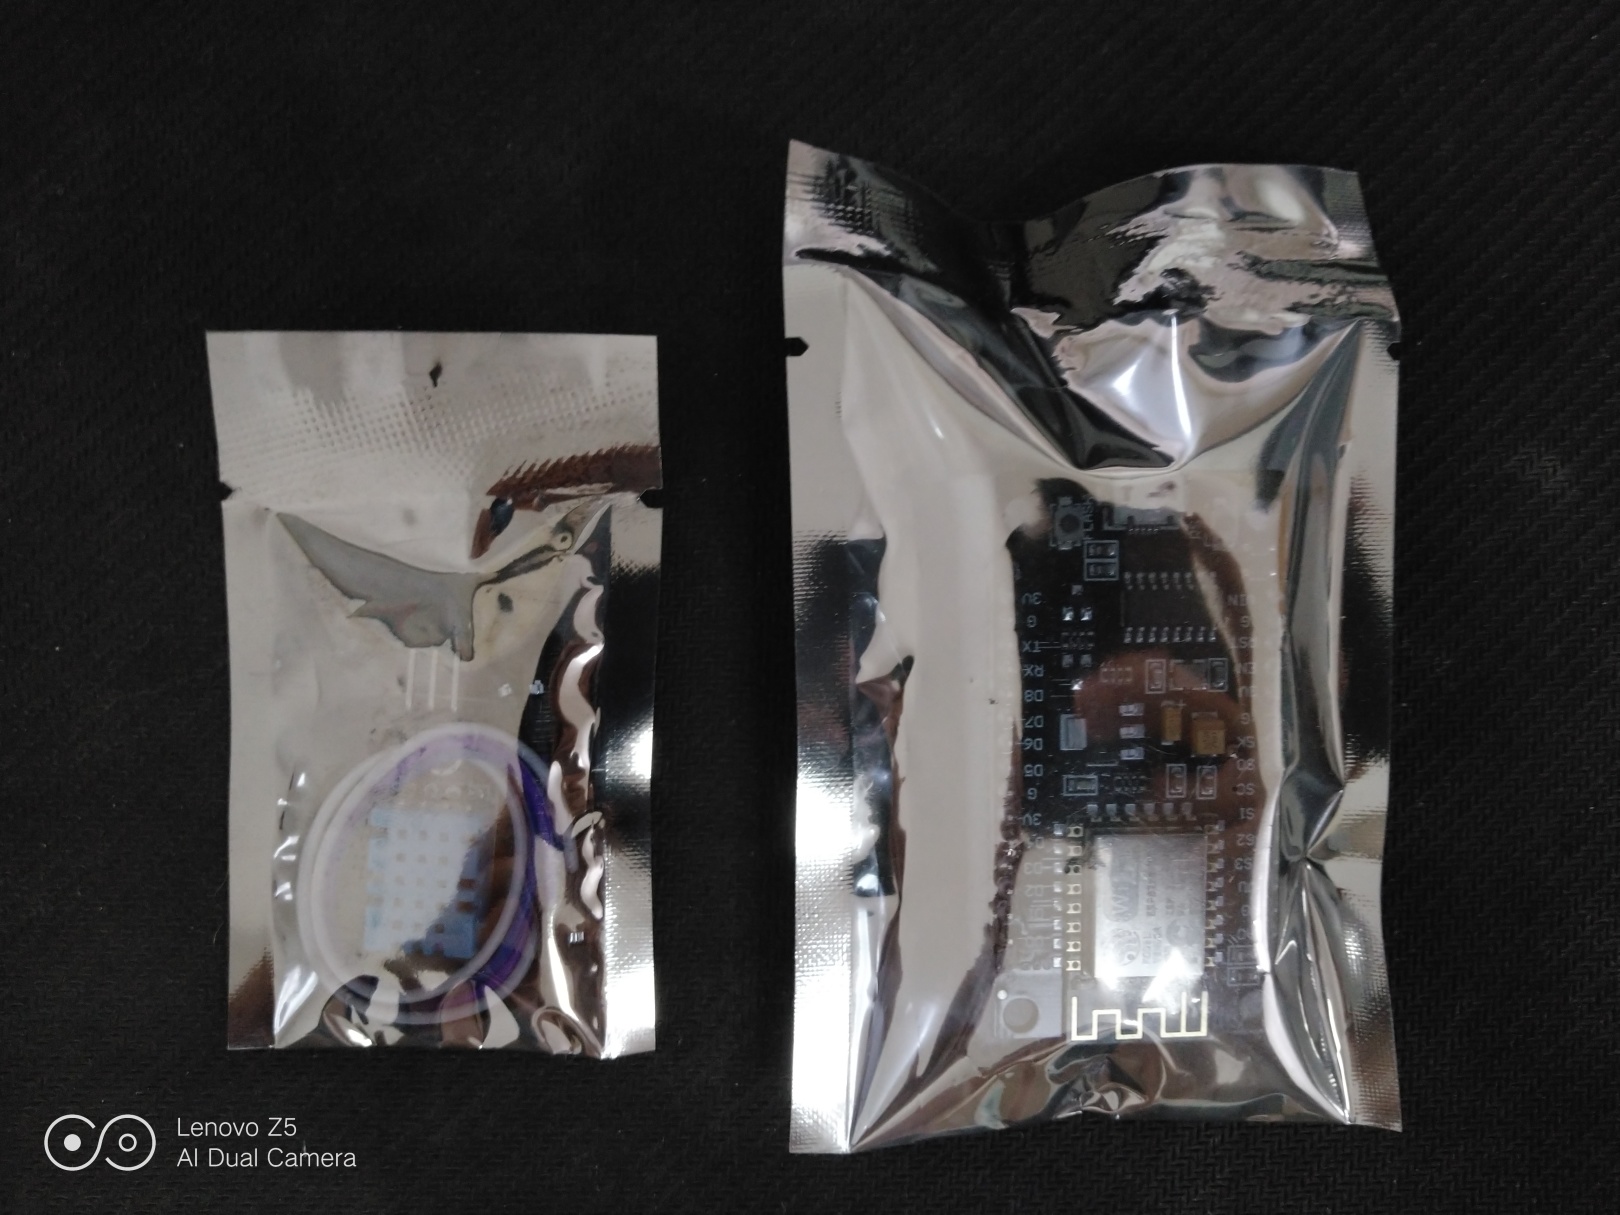
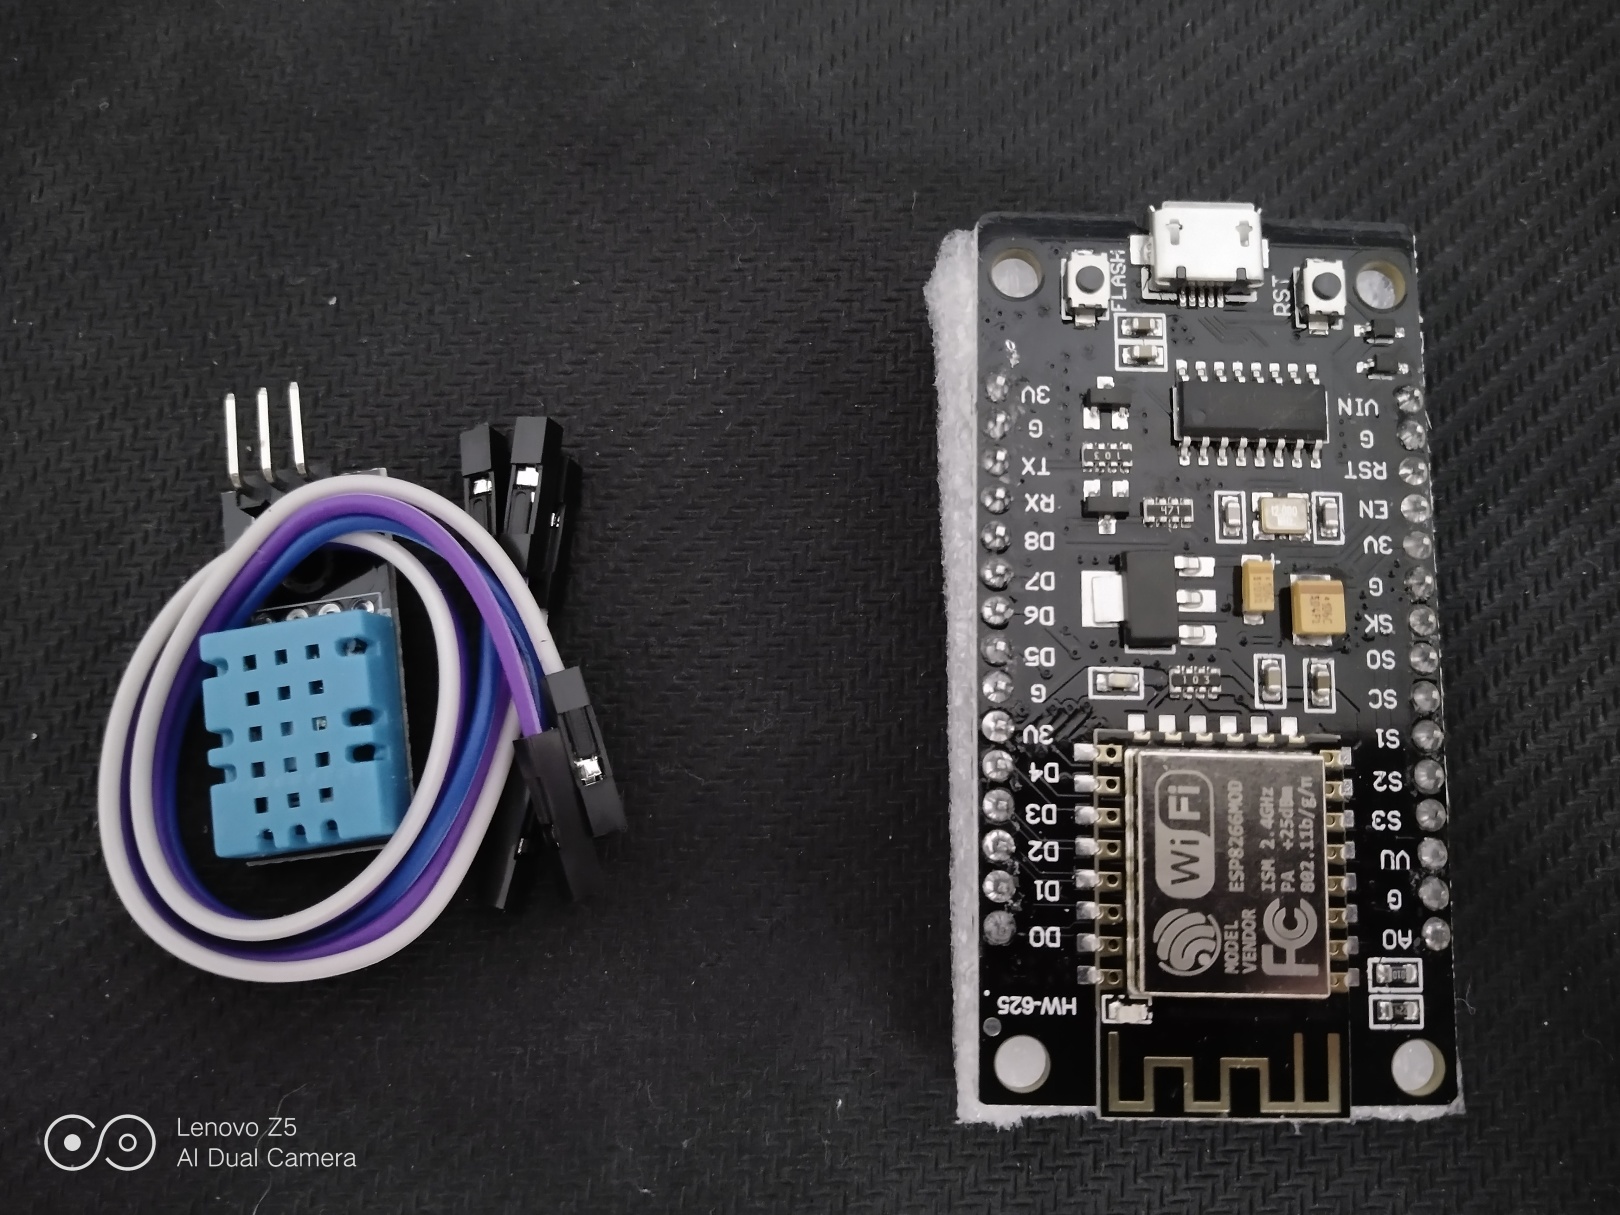
去翻从家带来的硬件小玩楞,突然发现DHT11,只可惜拿DHN的STM32连上并不是很好用,于是自己又网购了一波,顺便终于淘了个8266留给自己用。当初大三比赛用的是51+DS18B20再加pc的组合,后来比赛结束变成了加rpi的组合,结果到现在彻底换成了NodeMCU+DHT11的组合,8266nb!

这里说明一点,NodeMCU中的Node与我们所熟知的Node.js并没有关系,没想到吧hhh,骚年……
但是是基于Lua语言的(写到这里想到了貌似也有基于Python的开发板,py大法好!2019-8-18 20:54:41又买了一套扔WZ屋里用
2019-9-21 23:15:41由于中秋节自己带回去的那套扔家里了所以就又又买了一套给自己玩


0x01.NodeMCU
超简单的物联网开发平台
一款开源快速硬件原型平台,包括固件和开发板,用几行简单的Lua脚本就能开发物联网应用
一、特点:
- 像
Arduino一样操作硬件IO
提供硬件的高级接口,可以将应用开发者从繁复的硬件配置、寄存器操作中解放出来。用交互式Lua脚本,像arduino一样编写硬件代码! - 用
Nodejs类似语法写网络应用
事件驱动型API极大的方便了用户进行网络应用开发,使用类似Nodejs的方式编写网络代码,并运行于5mm*5mm大小的MCU之上,加快您的物联网开发进度。 - 超低成本的
WI-FI模块
用于快速原型的开发板,集成了售价低于10人民币WIFI芯片ESP8266。我们为您提供性价比最高的物联网应用开发平台。
二、开发板
- 基于乐鑫
esp8266的NodeMcu开发板,具有GPIO、PWM、I2C、1-Wire、ADC等功能,结合NodeMcu固件为您的原型开发提供最快速的途径。 - 包含
usb串口,即插即用 10 GPIO, 每个都能配置为PWM,I2C,1-wireFCC认证的WI-FI模块,内置PCB天线
0x02.官方文档
看到Basics里面的Getting started了吗?三部曲走起
Getting Started aka NodeMCU Quick Start
The basic process to get started with NodeMCU consists of the following three steps.
- Build the firmware with the modules you need
- Flash the firmware to the chip
- Upload code to the device.
上云编译
云端定制固件,你值得拥有!
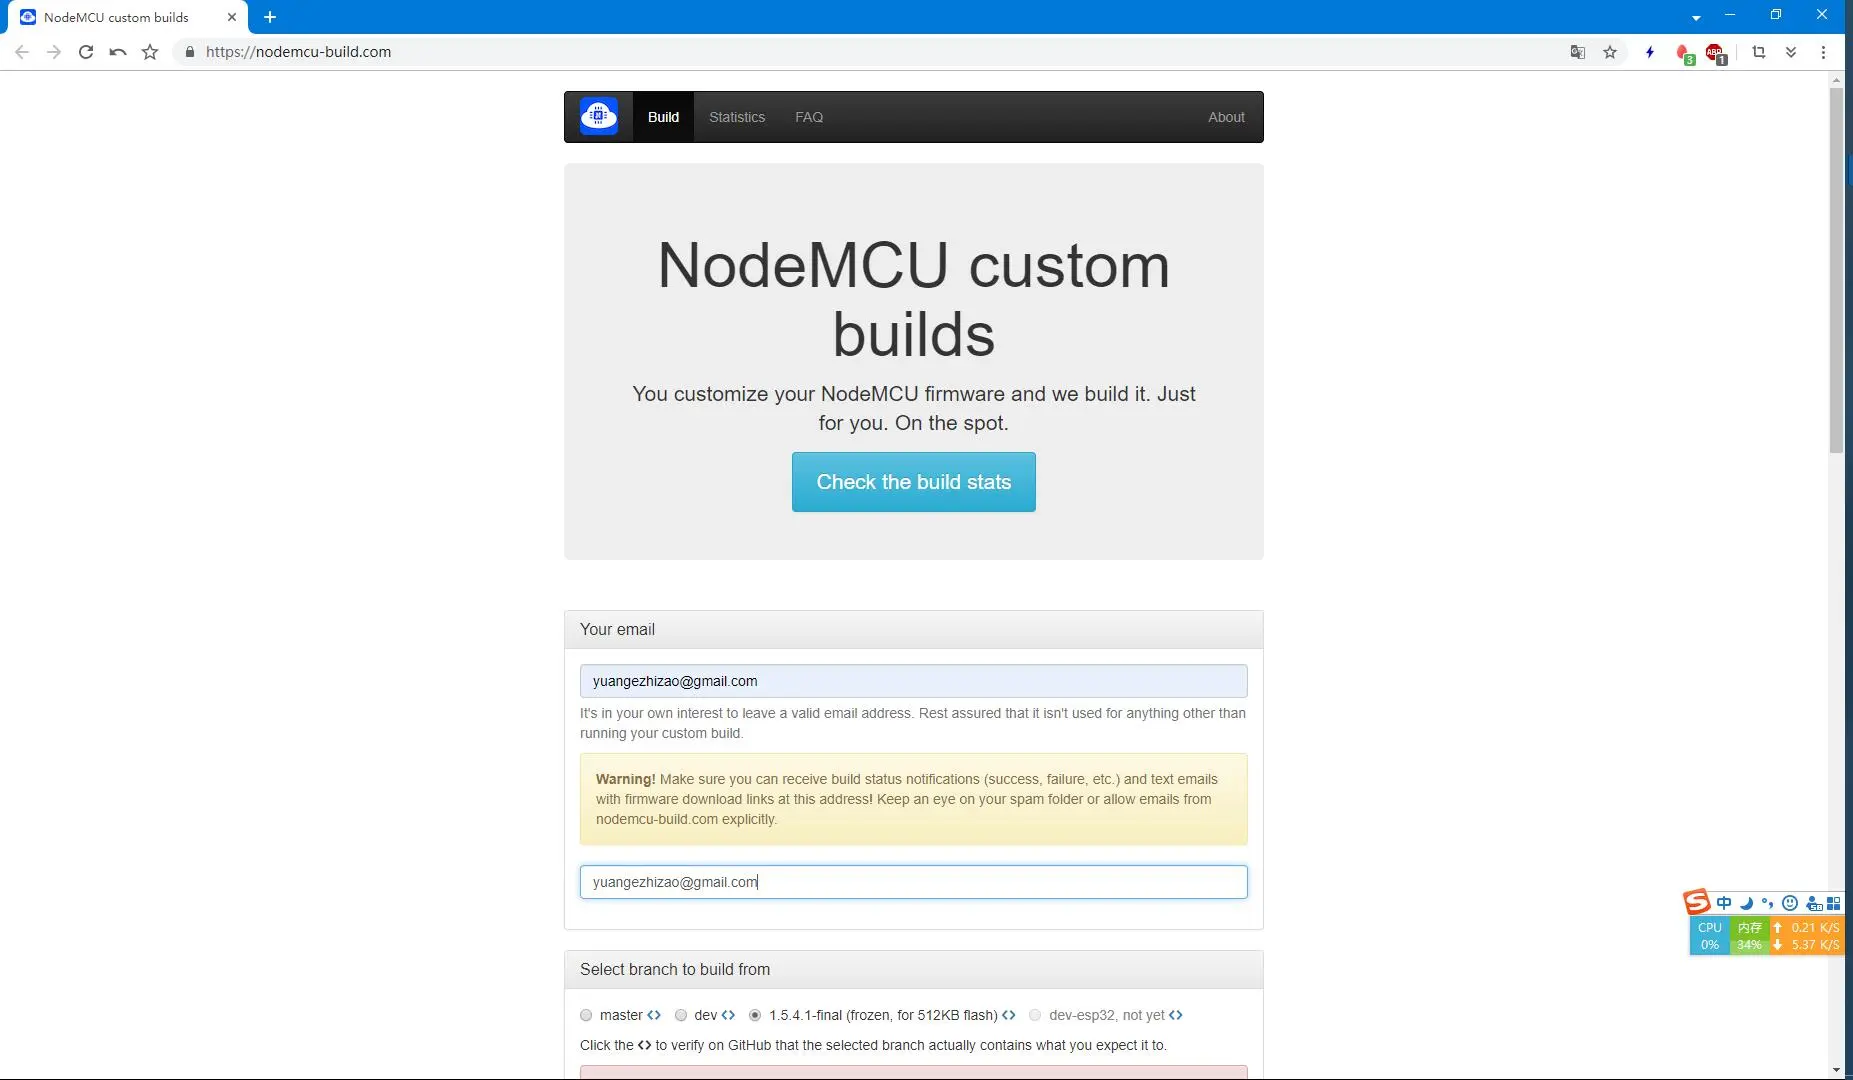
注意master和dev与gh上的代码库是同步的,因此随着时间的推移会有部分语法的差别(基本上网上的例程直接跑都会报错需要小修小改尤其是带tmr的),在这里暂时选择1.5.4.1-final (frozen, for 512KB flash)
以上是花了半下午的时间(远程连接到家里的电脑之后反复编译,下载试出来的(到最后谷歌邮箱接收的固件直接Co.摸鱼)404不让下载也是绝了2333
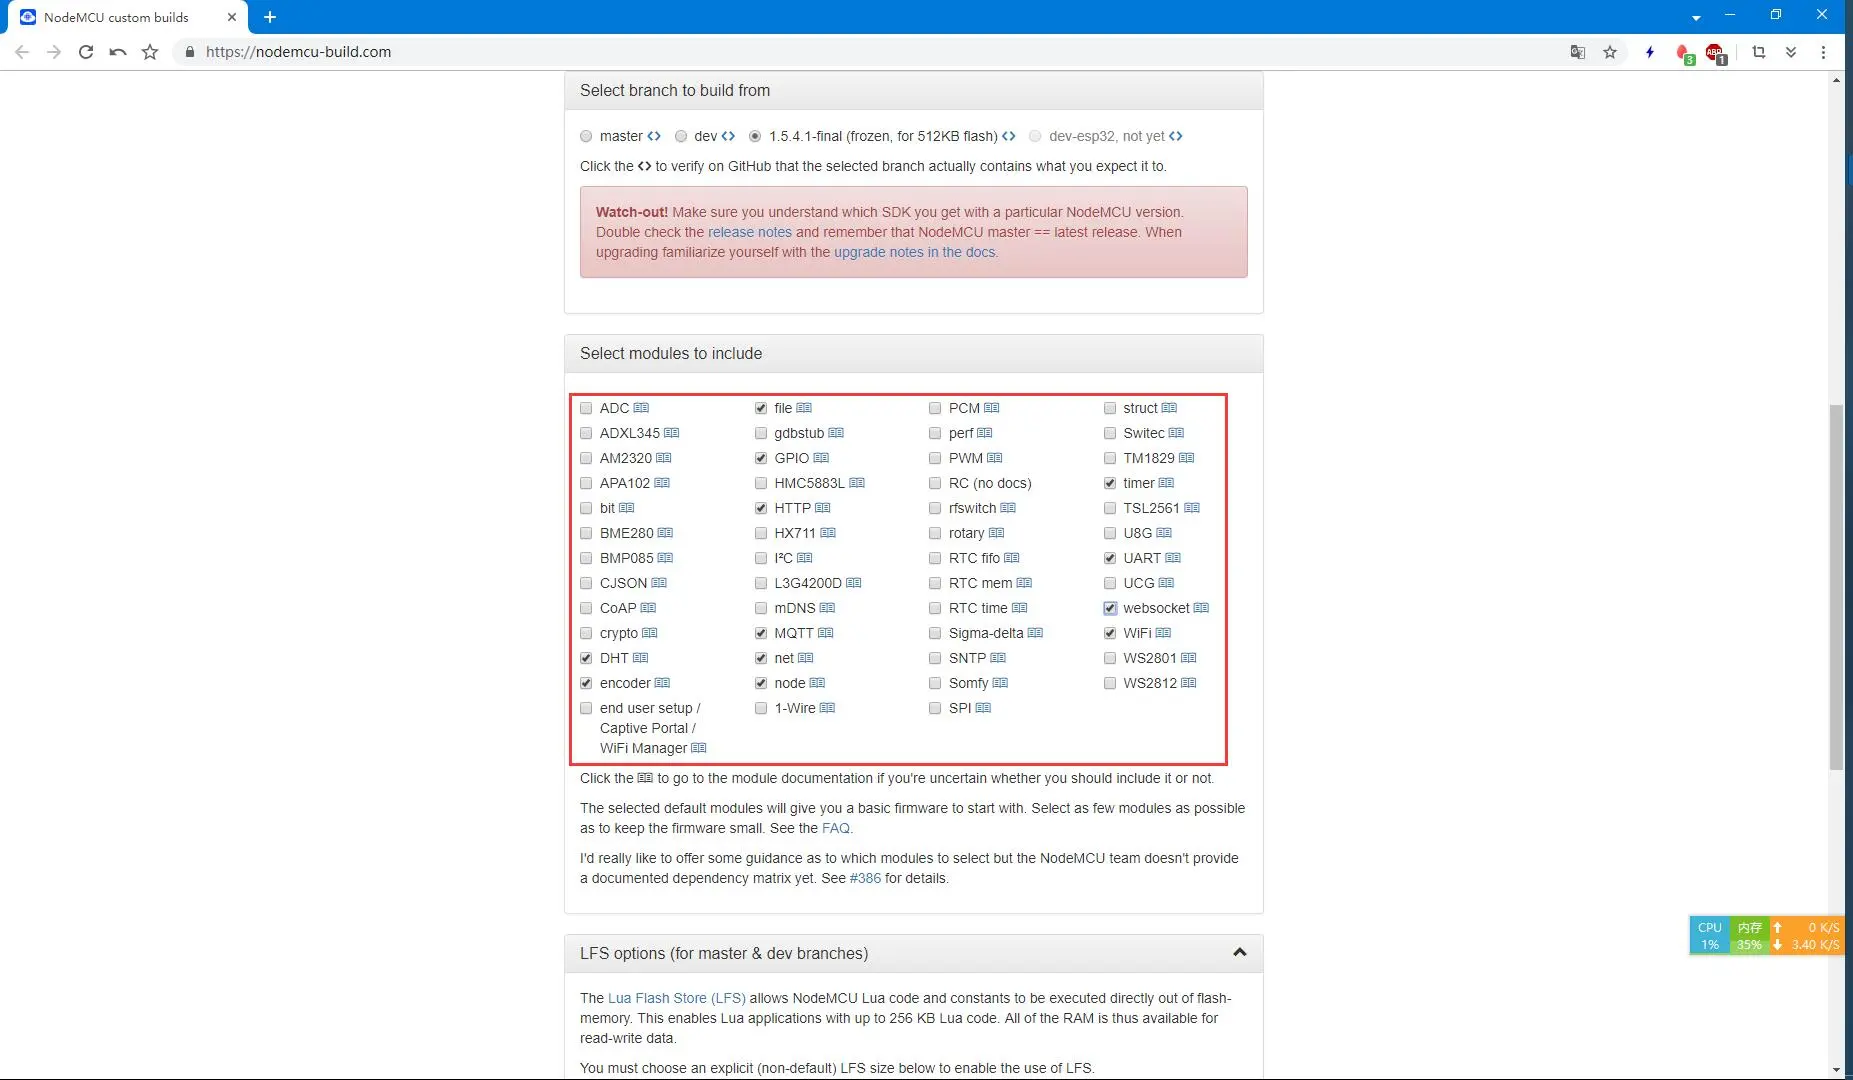
DHT和HTTP不是默认自带的,

编译开始与完成之时会分别收到邮件:
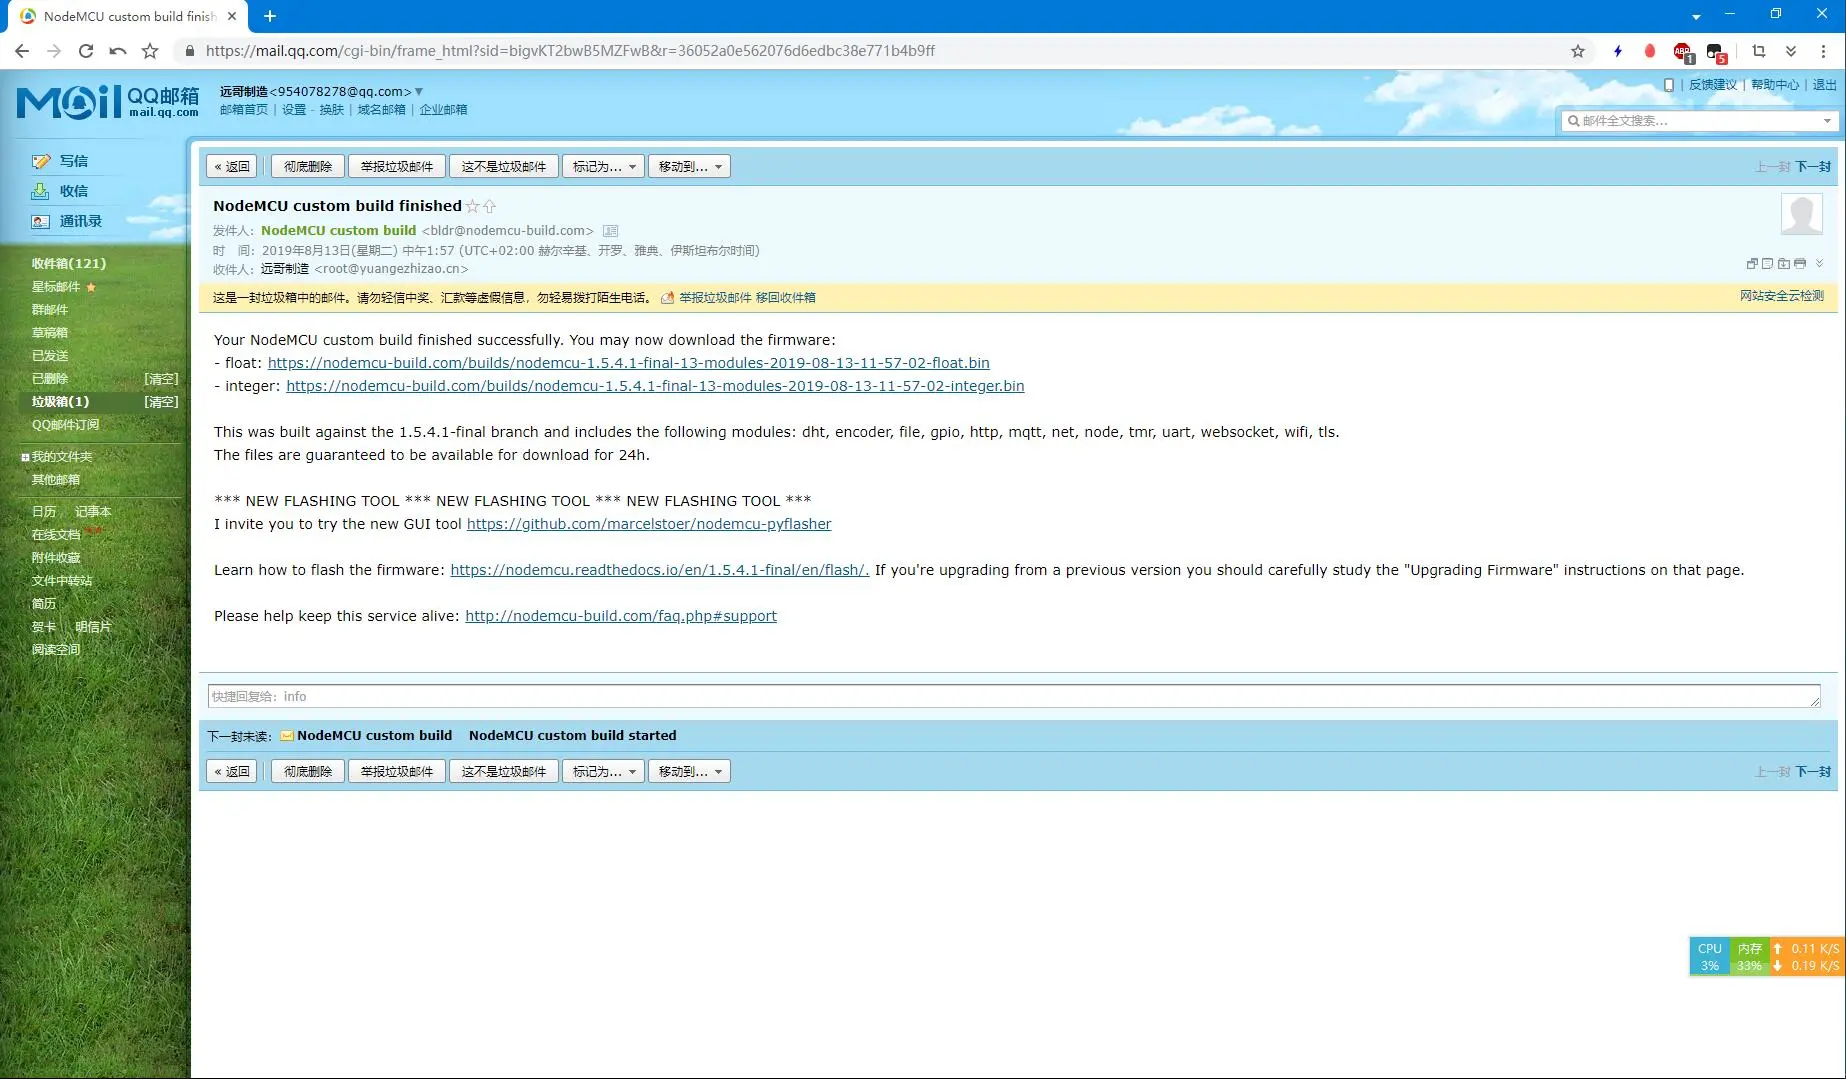
1 | Strike! |
This was built against the dev branch and includes the following modules: cron, crypto, dht, encoder, enduser_setup, file, gpio, http, mqtt, net, node, tmr, uart, websocket, wifi, tls.
float与integer具体选哪个好?在这里我选了前者,在print的时候字符串格式化会有差异
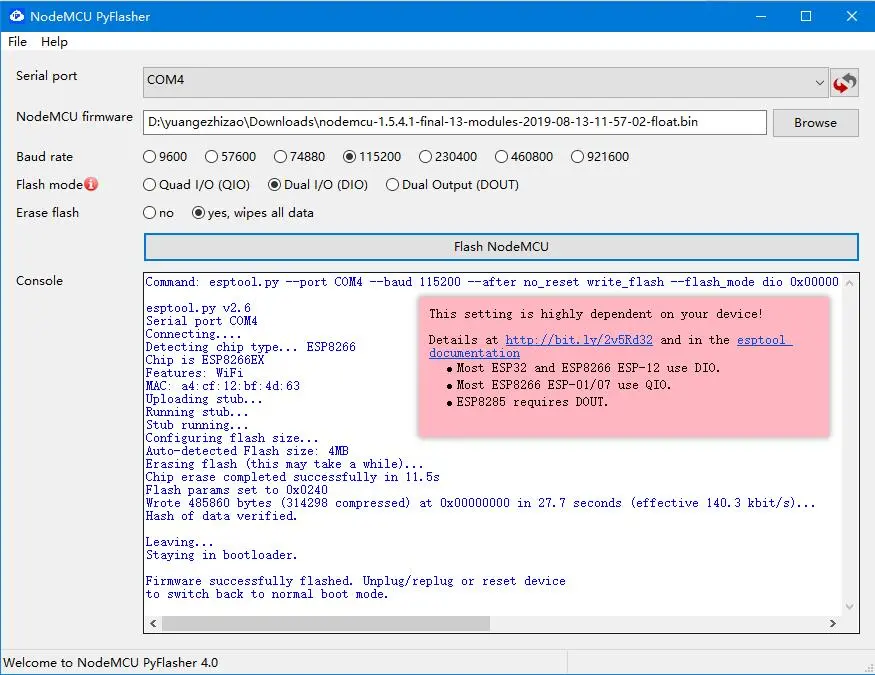
NodeMCU PyFlasher烧录
其实这玩楞就是个esptool.py的图形化封装
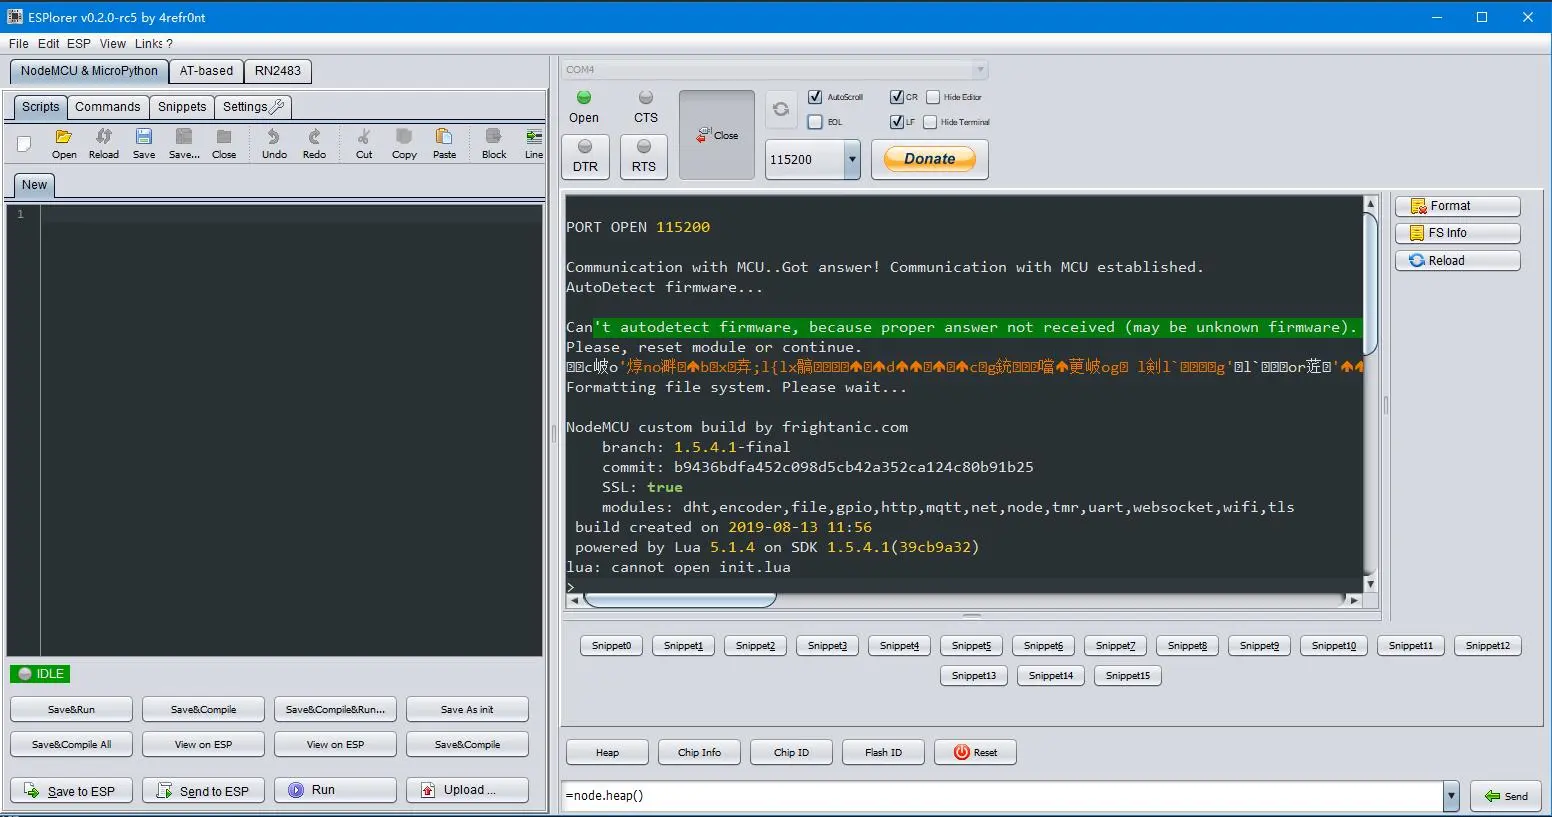
ESPlorer连接
pc需要CH340的驱动,这里是COM4,波特率115200
首次连接可以按一下板子上的RST复位键,并且下载完成应该会提示lua: cannot open init.lua我这里之前传过了所以不会有这个提示。现在懒得截图,之后再补吧……
0x03.代码
注:本文所有代码均经过测试并已通过运行验证
连接WiFi
法一、初级:先定义函数,后在参数中引用
1 | print('[WiFi]Setting...') |
法二、高级:匿名函数直接写入参数
1 | print('[WiFi]Setting...') |
然后你就可以活学活用下了:
1 | print("[WiFi]Scanning...") |
温湿度传感器
1 | pin = 1 |
0x03.引用
未完待续……
