毕业三年已经过去,光速又续费了三年
0x00.前言
还不是因为CentOS 8提前停止支持,虽然良心云的公共镜像中含有AlmaLinux 8.5亦或是Rocky Linux 8.5
但自己还是选择折腾封装红帽的自定义镜像,Self-Support它不香吗?就翻红帽文档呗
0x01.自定义镜像
其实国外的公有云大都提供了RHEL的镜像,而国内则只看到福报云和红帽有PY交易:Red Hat云接入计划
出于安全性的考量,决定自己动手丰衣足食,坚决不用第三方提供的RHEL镜像,良心云也提供了制作 Linux 镜像的文档
并且谷歌还搜索到了一步一步导入RHEL镜像到腾讯云,这下更有自信心了2333
0x02.cn-py-dl-r8
入口在云服务器控制台的服务迁移下,不管是在线迁移还是离线迁移都需要先在本地安装好系统,然后进行迁移
本着节省传输和迁移的时间决定使用离线迁移的方法,并且目前在线迁移处于公测期间,害得加群申请开通服务……
没有新版镜像就还是用rhel-8.5-x86_64-dvd.iso,一顿操作猛如虎,很快就在vCenter新装好了一台,毕竟之前已经装过一次了(
需要注意的是不需要默认勾选的GUI类型,图形化桌面内存占用还是太高了#108271669063819198,安装完成之后照着良心云文档一步一步的检查
1. 确认OS分区为MBR分区,而非GPT
1 | [root@UPS-PC home]# parted -l /dev/sda | grep 'Partition Table' |
2. 确认操作系统以BIOS方式启动,而非EFI
1 | [root@UPS-PC home]# ls /sys/firmware/efi |
3. 确认GRUB使用硬盘UUID挂载
首先查询到/root的文件系统名称为/dev/sda1,然后查询UUID,最后检查/etc/fstab发现已经是UUID,并且未挂载其它硬盘
1 | [root@UPS-PC home]# df -TH |
4. 确认/etc/shadow权限可以读写
1 | [root@UPS-PC home]# ll /etc/shadow |
5. 确认内核支持Virtio驱动
很不幸RHEL 8.5默认不支持,需要重新配置临时文件系统initramfs
1 | [root@UPS-PC home]# grep -i virtio /boot/config-$(uname -r) |
6. 安装cloud-init
使用RHEL标准仓库自带源,毕竟都用红帽了果断拒绝良心云文档中的手动编译
1 | [root@UPS-PC home]# yum install cloud-init -y |
看来在cn-py-dl-r8不注册是绕不过去了,subscription-manager一条register --auto-attach搞定,在执行这条命令之后还是一如既往的需要等待很久……
1 | [root@UPS-PC home]# subscription-manager register --username <rm> --password <rm> --auto-attach |
然后执行结束正准备安装cloud-init的时候,发现害没完事儿(╯°□°)╯︵┻━┻
1 | [root@UPS-PC home]# yum install cloud-init -y |
2000 years later
点击此处 ← 查看折叠
1 | [root@UPS-PC home]# yum install cloud-init -y |
然后使用良心云提供的cloud.cfg替代原有的
点击此处 ← 查看折叠
1 | [root@UPS-PC home]# cat /etc/cloud/cloud.cfg |
点击此处 ← 查看折叠
1 | [root@UPS-PC home]# echo '' > /etc/cloud/cloud.cfg |
执行init检查相关配置是否成功,然后删掉缓存记录
1 | [root@UPS-PC ~]# cloud-init init --local |
得益于良心云文档的排版错误,差点儿错过三个步骤草
- 首先是添加
syslog用户:useradd syslog - 然后是修改服务单元文件
点击此处 ← 查看折叠
1 | [root@UPS-PC home]# cat /lib/systemd/system/cloud-init-local.service |
- 最后配置服务自启动
点击此处 ← 查看折叠
1 | [root@UPS-PC home]# systemctl status cloud-init-local |
7. 确认木有VMware tools
结果发现还真有,vCenter这么快就给装上了……
1 | [root@UPS-PC home]# ps aux | grep vmtool |
不过是open-vm-tools而不是通过.pl脚本安装的
点击此处 ← 查看折叠
1 | [root@UPS-PC home]# find / -name 'vmware-uninstall-tools.p' |
8. 确认分区和大小
1 | [root@UPS-PC home]# mount |
9. 更改网络端口到eth0
网卡更换为
Virtio Nic,默认只提供eth0
良心云文档中并没有写,参考前人在GRUB_CMDLINE_LINUX追加net.ifnames=0 biosdevname=0
1 | [root@UPS-PC home]# cat /etc/default/grub |
然后重新编译GRUB启动配置
1 | [root@UPS-PC home]# grub2-mkconfig -o /boot/grub2/grub.cfg |
最后修改网卡配置文件,并重命名ifcfg-ens192至ifcfg-eth0
1 | [root@UPS-PC home]# cat /etc/sysconfig/network-scripts/ifcfg-ens192 |
至此终于搞完一半了,然后关机,导出OVF模板,上传VMDK至COS,最后导入自定义镜像
本来以为不需要等待多久,结果过了一会儿还没完成不打算等了,没想到的是电脑关机后刚上床就导入完成了草#108267441787923547,只能白天继续来搞了……
此章节时间线#108266452237726140
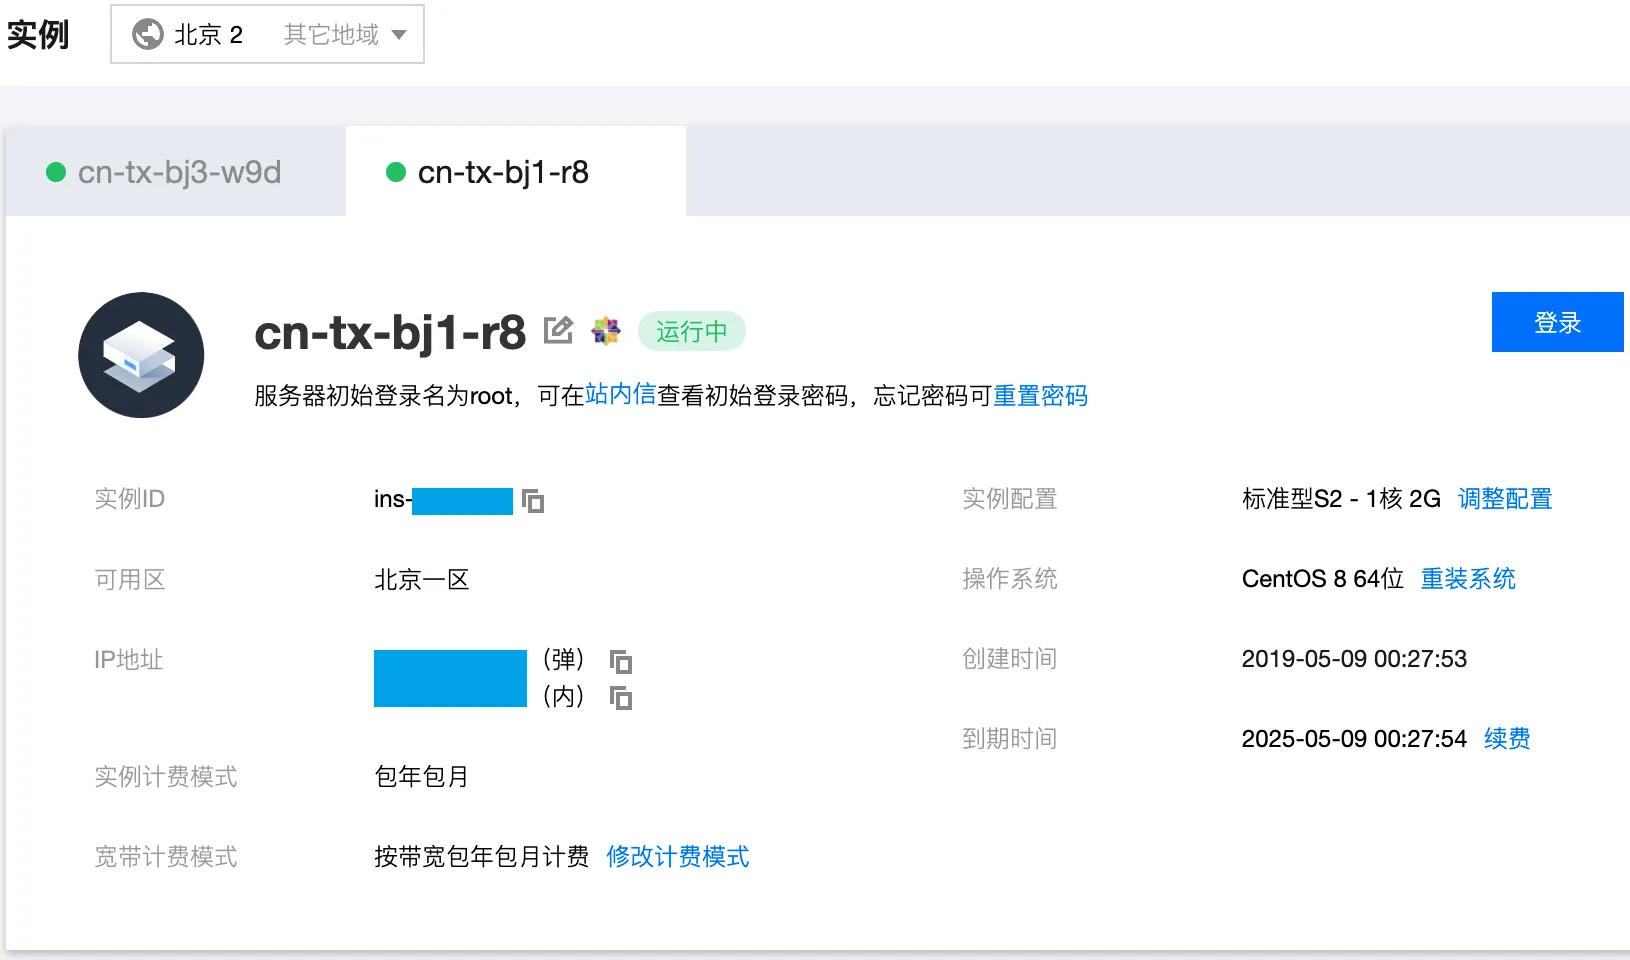
0x03.cn-tx-bj1-r8
另一半则是开始着手重装cn-tx-bj1-c8的系统,终于可以使用自己制作的rhel-85-x86-64-minimal自定义镜像来安装了,成功启动!
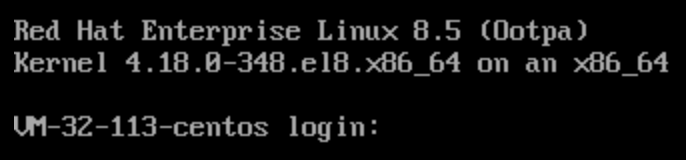
虽然看到cloud-init还是报了DNS解析失败等错误,但是毕竟系统起来了可以后期慢慢修,并不知道会有多少坑等着呢……
然后的Linux云主机初始化操作就异常娴熟了,简单列几点吧~
修改
hostname等待重启1
2
3
4
5
6
7
8
9
10
11
12
13
14
15
16
17
18
19
20
21
22
23
24
25
26
27
28
29
30[root@VM-32-113-centos ~]# vi /etc/hosts
[root@VM-32-113-centos ~]# cat /etc/hosts
# Your system has configured 'manage_etc_hosts' as True.
# As a result, if you wish for changes to this file to persist
# then you will need to either
# a.) make changes to the master file in /etc/cloud/templates/hosts.redhat.tmpl
# b.) change or remove the value of 'manage_etc_hosts' in
# /etc/cloud/cloud.cfg or cloud-config from user-data
#
# The following lines are desirable for IPv4 capable hosts
127.0.0.1 cn-tx-bj1-r8 cn-tx-bj1-r8
127.0.0.1 localhost.localdomain localhost
127.0.0.1 localhost4.localdomain4 localhost4
# The following lines are desirable for IPv6 capable hosts
::1 cn-tx-bj1-r8 cn-tx-bj1-r8
::1 localhost.localdomain localhost
::1 localhost6.localdomain6 localhost6
[root@VM-32-113-centos ~]# hostnamectl set-hostname cn-tx-bj1-r8
[root@VM-32-113-centos ~]# hostnamectl status
Static hostname: cn-tx-bj1-r8
Icon name: computer-vm
Chassis: vm
Machine ID: 0ba7a84d83404f9db63783a17f5fb6b1
Boot ID: b4668c56ec7a486b9d0992f03d795309
Virtualization: kvm
Operating System: Red Hat Enterprise Linux 8.5 (Ootpa)
CPE OS Name: cpe:/o:redhat:enterprise_linux:8::baseos
Kernel: Linux 4.18.0-348.el8.x86_64
Architecture: x86-64配置
SELINUX为permissive模式,执行重启1
2
3
4
5
6
7
8
9
10
11
12
13
14[root@VM-32-113-centos ~]# vi /etc/selinux/config
[root@VM-32-113-centos ~]# cat /etc/selinux/config
# This file controls the state of SELinux on the system.
# SELINUX= can take one of these three values:
# enforcing - SELinux security policy is enforced.
# permissive - SELinux prints warnings instead of enforcing.
# disabled - No SELinux policy is loaded.
SELINUX=permissive
# SELINUXTYPE= can take one of these three values:
# targeted - Targeted processes are protected,
# minimum - Modification of targeted policy. Only selected processes are protected.
# mls - Multi Level Security protection.
SELINUXTYPE=targeted修改
SSH端口非22,并放通防火墙,配置fail2ban保护sshd服务1
2
3
4
5
6[root@cn-tx-bj1-r8 ~]# firewall-cmd --add-port=<rm>/tcp
success
[root@cn-tx-bj1-r8 ~]# firewall-cmd --runtime-to-permanent
success
[root@cn-tx-bj1-r8 ~]# firewall-cmd --list-ports
<rm>/tcp试了一下可以直接访问红帽的源,但毕竟更换了环境还是重新注册下吧,可以看出系统
UUID没有变化,暂时不需要重新生成1
2
3
4
5
6
7
8
9
10[root@cn-tx-bj1-r8 ~]# subscription-manager register --username <rm> --password <rm>
This system is already registered. Use --force to override
[root@cn-tx-bj1-r8 ~]# subscription-manager register --username <rm> --password <rm> --force
Unregistering from: subscription.rhsm.redhat.com:443/subscription
The system with UUID 5ad1c54f-024a-4445-b670-4be086022637 has been unregistered
All local data removed
Registering to: subscription.rhsm.redhat.com:443/subscription
The system has been registered with ID: 82cad6a2-54c5-427b-8df5-ea230fec0ca4
The registered system name is: cn-tx-bj1-r8
[root@cn-tx-bj1-r8 ~]# subscription-manager attach --auto最后查看内存占用,
used部分并没有比Debain更省内存?1
2
3
4[root@cn-tx-bj1-r8 ~]# free -h
total used free shared buff/cache available
Mem: 1.8Gi 152Mi 1.2Gi 9.0Mi 383Mi 1.5Gi
Swap: 1.0Gi 0B 1.0Gi扩充磁盘空间,可以看到是
xfs而不是ext4的格式,且/挂载点只占用了8.6G,加上/boot挂载点的1.1G接近当初分配的10G大小1
2
3
4
5
6
7
8
9
10
11
12
13
14
15
16
17
18
19
20
21
22
23
24
25
26
27
28
29
30
31
32[root@cn-tx-bj1-r8 ~]# fdisk -l
Disk /dev/vda: 50 GiB, 53687091200 bytes, 104857600 sectors
Units: sectors of 1 * 512 = 512 bytes
Sector size (logical/physical): 512 bytes / 512 bytes
I/O size (minimum/optimal): 512 bytes / 512 bytes
Disklabel type: dos
Disk identifier: 0x0d2cab79
Device Boot Start End Sectors Size Id Type
/dev/vda1 * 2048 2099199 2097152 1G 83 Linux
/dev/vda2 2099200 20971519 18872320 9G 8e Linux LVM
Disk /dev/mapper/rhel-root: 8 GiB, 8585740288 bytes, 16769024 sectors
Units: sectors of 1 * 512 = 512 bytes
Sector size (logical/physical): 512 bytes / 512 bytes
I/O size (minimum/optimal): 512 bytes / 512 bytes
Disk /dev/mapper/rhel-swap: 1 GiB, 1073741824 bytes, 2097152 sectors
Units: sectors of 1 * 512 = 512 bytes
Sector size (logical/physical): 512 bytes / 512 bytes
I/O size (minimum/optimal): 512 bytes / 512 bytes
[root@cn-tx-bj1-r8 ~]# df -TH
Filesystem Type Size Used Avail Use% Mounted on
devtmpfs devtmpfs 935M 0 935M 0% /dev
tmpfs tmpfs 953M 25k 953M 1% /dev/shm
tmpfs tmpfs 953M 68M 886M 8% /run
tmpfs tmpfs 953M 0 953M 0% /sys/fs/cgroup
/dev/mapper/rhel-root xfs 8.6G 2.4G 6.3G 28% /
/dev/vda1 xfs 1.1G 220M 845M 21% /boot
tmpfs tmpfs 191M 0 191M 0% /run/user/0可以看出
/挂载点在vda2下,再分成了rhel-root和rhel-swap,也就是说需要扩充的是vda21
2
3
4
5
6
7
8
9[root@cn-tx-bj1-r8 ~]# dnf install -y cloud-utils-growpart
[root@cn-tx-bj1-r8 ~]# lsblk
NAME MAJ:MIN RM SIZE RO TYPE MOUNTPOINT
sr0 11:0 1 154.5M 0 rom
vda 252:0 0 50G 0 disk
├─vda1 252:1 0 1G 0 part /boot
└─vda2 252:2 0 9G 0 part
├─rhel-root 253:0 0 8G 0 lvm /
└─rhel-swap 253:1 0 1G 0 lvm [SWAP]尝试使用
growpart和resize2fs,果不其然resize2fs报错了1
2
3
4
5
6[root@cn-tx-bj1-r8 ~]# growpart /dev/vda 2
CHANGED: partition=2 start=2099200 old: size=18872320 end=20971520 new: size=102758367 end=104857567
[root@cn-tx-bj1-r8 ~]# resize2fs /dev/vda2
resize2fs 1.45.6 (20-Mar-2020)
resize2fs: Device or resource busy while trying to open /dev/vda2
Couldn\'t find valid filesystem superblock.切换成针对
xfs的命令xfs_growfs1
2
3
4
5
6
7
8
9
10
11
12
13
14
15
16
17
18
19
20
21
22
23
24
25
26
27
28
29
30
31
32
33
34
35
36
37
38
39
40
41
42
43
44
45
46
47
48
49
50
51
52
53
54
55
56
57
58
59
60
61
62
63[root@cn-tx-bj1-r8 ~]# xfs_growfs /dev/mapper/rhel-root
meta-data=/dev/mapper/rhel-root isize=512 agcount=4, agsize=524032 blks
= sectsz=512 attr=2, projid32bit=1
= crc=1 finobt=1, sparse=1, rmapbt=0
= reflink=1
data = bsize=4096 blocks=2096128, imaxpct=25
= sunit=0 swidth=0 blks
naming =version 2 bsize=4096 ascii-ci=0, ftype=1
log =internal log bsize=4096 blocks=2560, version=2
= sectsz=512 sunit=0 blks, lazy-count=1
realtime =none extsz=4096 blocks=0, rtextents=0
[root@cn-tx-bj1-r8 ~]# growpart /dev/vda 2
NOCHANGE: partition 2 is size 102758367. it cannot be grown
[root@cn-tx-bj1-r8 ~]# pvresize /dev/vda2
Physical volume "/dev/vda2" changed
1 physical volume(s) resized or updated / 0 physical volume(s) not resized
[root@cn-tx-bj1-r8 ~]# pvdisplay
--- Physical volume ---
PV Name /dev/vda2
VG Name rhel
PV Size <49.00 GiB / not usable 1.98 MiB
Allocatable yes
PE Size 4.00 MiB
Total PE 12543
Free PE 10240
Allocated PE 2303
PV UUID qX1P1B-rFi8-BEIf-heEk-KJj6-iGfD-8TBntG
[root@cn-tx-bj1-r8 ~]# vgdisplay
--- Volume group ---
VG Name rhel
System ID
Format lvm2
Metadata Areas 1
Metadata Sequence No 5
VG Access read/write
VG Status resizable
MAX LV 0
Cur LV 2
Open LV 2
Max PV 0
Cur PV 1
Act PV 1
VG Size <49.00 GiB
PE Size 4.00 MiB
Total PE 12543
Alloc PE / Size 2303 / <9.00 GiB
Free PE / Size 10240 / 40.00 GiB
VG UUID XJ5ttD-HFOy-M01d-pJKw-CqK0-tkFL-nSSPKv
[root@cn-tx-bj1-r8 ~]# lvextend -l +100%FREE /dev/mapper/rhel-root
Size of logical volume rhel/root changed from <8.00 GiB (2047 extents) to <48.00 GiB (12287 extents).
Logical volume rhel/root successfully resized.
[root@cn-tx-bj1-r8 ~]# xfs_growfs /dev/mapper/rhel-root
meta-data=/dev/mapper/rhel-root isize=512 agcount=4, agsize=524032 blks
= sectsz=512 attr=2, projid32bit=1
= crc=1 finobt=1, sparse=1, rmapbt=0
= reflink=1
data = bsize=4096 blocks=2096128, imaxpct=25
= sunit=0 swidth=0 blks
naming =version 2 bsize=4096 ascii-ci=0, ftype=1
log =internal log bsize=4096 blocks=2560, version=2
= sectsz=512 sunit=0 blks, lazy-count=1
realtime =none extsz=4096 blocks=0, rtextents=0
data blocks changed from 2096128 to 12581888再次查看大小,已经成功了,变成
52G了1
2
3
4
5
6
7
8
9[root@cn-tx-bj1-r8 ~]# df -TH
Filesystem Type Size Used Avail Use% Mounted on
devtmpfs devtmpfs 935M 0 935M 0% /dev
tmpfs tmpfs 953M 25k 953M 1% /dev/shm
tmpfs tmpfs 953M 68M 886M 8% /run
tmpfs tmpfs 953M 0 953M 0% /sys/fs/cgroup
/dev/mapper/rhel-root xfs 52G 2.7G 49G 6% /
/dev/vda1 xfs 1.1G 220M 845M 21% /boot
tmpfs tmpfs 191M 0 191M 0% /run/user/0
此章节时间线#108271381980874897
0x04.后记
cn-py-dl-r8→cn-tx-bj1-r8终于搞定了,最后删除cn-py-dl-r8#108271667122964721,完结撒花🎉🎉🎉
0x05.引用
使用growpart扩容CentOS虚拟机磁盘
安装云服务器监控组件
云服务器无监控数据
获取内网 IP 地址和设置 DNS
至此本文使命完成
